STW War Story IV : Revolution - Ronins Take Over
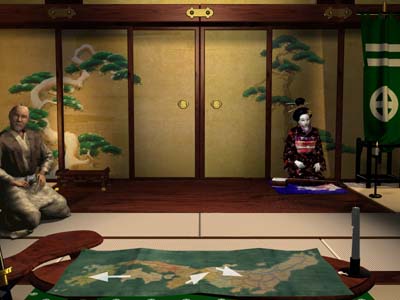
The campaign was started as expert Shimazu. As soon as the campaign starts, it was directly switched to ronin by typing ".conan". The throne room happens to be the Shimazu background.
Chapter 1 Rush
Since the Onin war, the ongoing conflicts between more the one hundred clans in Japan had made the country unstable and poor. The peasants suffered the loss of their family in military service, from the heavy taxes posted by the greedy landlords, and from the incompetent emperor and shogun that cannot stop the agony of the land.
By the year of 1530, 7 greater clans had been formed, the rest being ruled by small forces and ronins. Scattered and un-coordinated, they were waiting to be swallowed by the united. Yet the situation has been changed, until a secret meeting in Spring.
A revolution! The peasants everywhere in the country would coordinate a large revolution. Their moto goes: Unite the weak, beat the power, and restore Japan back to a land of peace and joy. (Well, medieval peasants are sometimes too naive.)
The revolution was initiated by three main forces - Ise, Kaga, and Shigoku. The Ise army will attack Oda Nobuhide in Owari. Kaga will attack the Uesugi clan in Shinano - but their real target is Imagawa in Totomi. The Shigoku army will attack Shimazu.
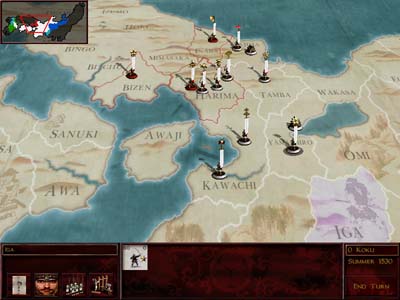
Spring 1530
The Ise army, numbered 300, will divide into half. 180 of them will march into Owari. The Kaga army has marched to Etchu, waiting for the assault in Shinano next season.
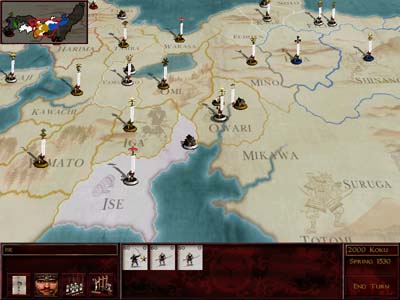
p.s. 2000 koku is the default starting money for ronins in all difficulty levels.
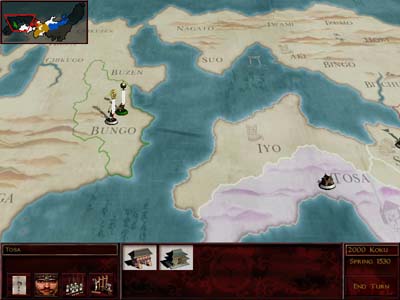
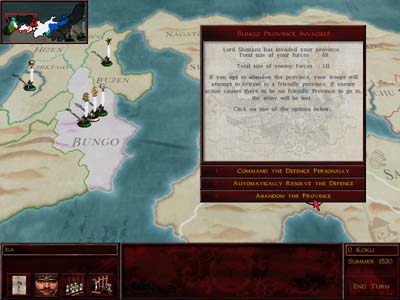
The entire Iyo army, numbered 120, will march into Bungo. Another 120 in Sanuki, commanded by a famous (Rank 2) general Shima Tadayo, is on their way as reinforcement.
Bungo: ![]() Rebel (R0, 120) vs.
Rebel (R0, 120) vs. ![]() Shimazu (R0, 120)
Shimazu (R0, 120)
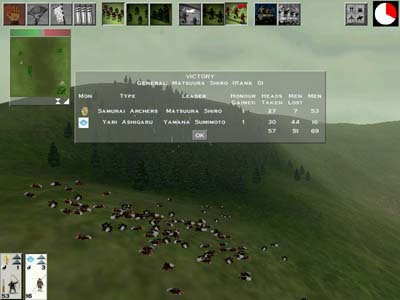
The strongest power in Kyushu, Shimazu Takahisa had sensed their weak defense in Bungo, and moved another unit here to assist the defense. The two Rank 0 general clashed in the mountains of Bungo.
The Shimazu army was consisted of 60 yrai samurai and 60 yari ashigaru, while the rebel had 60 samurai archers and 60 yari ashigaru.
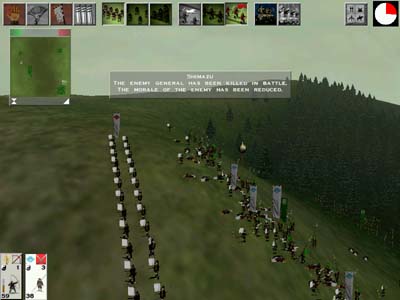
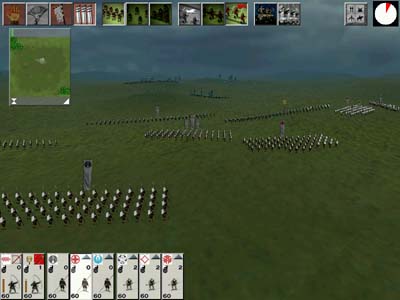
The enemies were hiding in a forest adjacent to a hill overseeing the forest. Cannot miss this good chance - the rebel archers soon marched to the peak and started raining arrows on the enemy. The Shimazu yari samurai bravely marched uphill, but the rebel charged down the ashigaru. The height advantage gave the rebel ashigaru a good chance to match the enemy yari samurai. With the help of their comrades arrows from behind, finally the enemy Taisho is killed.
But the enemy hasn't surrendered yet - and instead the un-trained peasants soon started to waver and lose badly! Seeing this, the archer taisho of rebel gave up using his arrow, and immediately charged down! This charge entirely destroyed the morale of the enemy yari samurai. The rebels chased all the way into the forests, where they received minor resistance from the enemy yari ashigaru.
With a large casaulty, the battle was won. If the enemy ashigaru had come out from the forest and joined fight, the rebel should have lost. Yet they waited till their comrades had totally collapse!
Owari: ![]() Rebel (R0, 180) vs.
Rebel (R0, 180) vs. ![]() Oda (R3, 131)
Oda (R3, 131)
The attack force of Owari consisted of two units of 60 warrior monks and 1 unit of samurai archer (taisho). The enemy, led by Oda Nobuhide himself, only had 2 units of ashigaru and the daimyo's bodyguards.
Knowing the enemy has no archers, the monks bravely crossed the bridge, and soon drove away the only Oda ashigaru on the left who attempted to block the bridge.
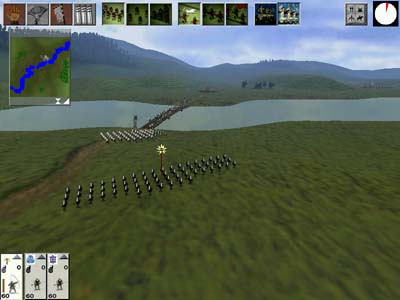
Oda Nobuhide soon came forward from the other bridge - and the first monk group now came back and surrendered Oda Nobuhide with the second monk group. But the once-routed enemy ashigaru plus another soon charged to the first monk group, so the situation bocomes a little complicated. Oda Nobuhide's bodyguard performed very well against the monks, giving a very hard time to the first group of monks.
The second group of monks was soon directed to attack the ashigarus, but they were blocked by their comrades and were not able to directly face the enemy.
However, the rebel group still have the taisho archers! Instead of watch and shoot, the taisho decides also to charge in!

The charge of the rebel taisho soon brought a devastating efect on the enemy - Oda Nobuhide turned around and got killed in a few seconds - now all the peasants ran for their lives!
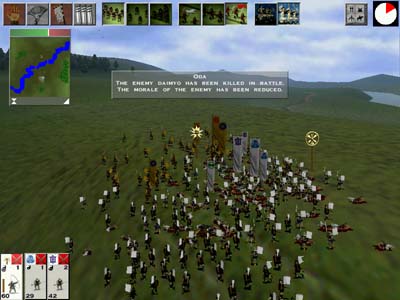
With quite heavy casaulty from the monk, the Oda clan was destoryed.
All general and armies of Oda had agreed to join the revolution - because they had also suffered from the ambition of Oda. It is the time to fight for their freedom!
Now the rebel force had occupied the entire Kinki. As a result, the new plan comes to: The Yamashiro rebel force will be leading the western Oda to attack Mori, while the Ise rebel will lead the eastern Oda to attack Imagawa.
In the battle of Owari, one of the Ise monks was performing well to have killed 5 enemies. He was granted the title of legendary swordsman. But the tight budget for the rebel force will probably not allow any sword dojo to be built. The monks should be sufficient - besides they were located in the famous shrine place of Kaga and the emperor province of Yamashiro.

Summer 1530
The western Oda army soon attacked Mori's Harima next season. The Mori defense was outnumbered and decided to retreat in advance.
On the other hand, the Etchu and Mino rebel lauched the planned attack to Shinano. The Uesugi army was also outnumbered and retreated. The attack of Mikawa was called off as the Imagawa army, numbered only 60, refused to retreat into Totomi. Since we are hoping to take over Imagawa's men later, we were reluctant to make unecessary sacrifices at this moment.
Also at the same time, Shimazu decided to strike back Bungo with Takahisa himself. The rebel retreated as they were outnumbered. They shall come back once the Sanuki reinforcement has arrived!
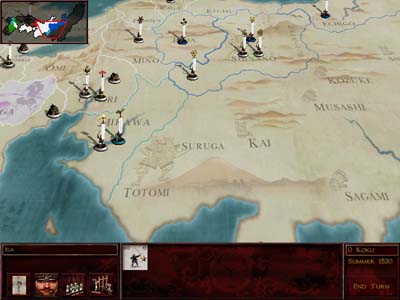
Autumn 1530
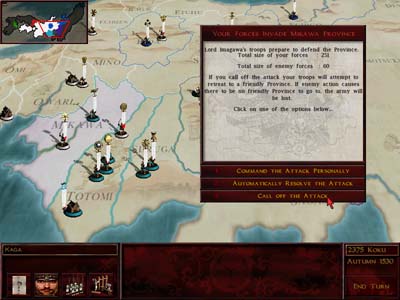
The entire army of Shinano now marched into Totomi, aiming for Imagawa Yoshimoto. The Imagawa army might draw back all available forces from Mikawa and Suruga for a good match - so the rebels decided to attack Mikawa at the same time, distracting the attention of Imagawa Yoshimoto. If he decides to defend Mikawa, then the Mikawa army will at least not be able to join the battle in Totomi. If he decided to discard Mikawa, then even if the attack of Totomi is failed or called off, there will be reinforcement from Miakawa next season.
On the other hand, fresh monks were finally trained from Kaga and is ready to fight. Their first target was Hida, Uesugi's lone office on the west now. The force was combined with the Mino army of previous Oda.
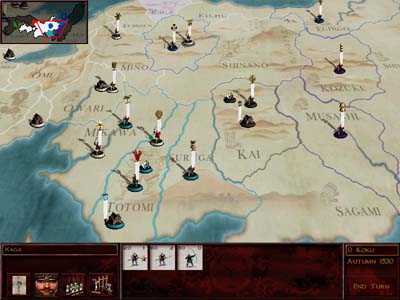
The rebel also attacked Mimasaka, the homebase of Mori Motonari using the same 360 men for Harima - largely as Ashigaru. Mori Motonari this time had managed to get 300 men to defend. Knowing that the quality of rebel was much inferior (the monks of Yoshimoto were now in Harima still), the attack was called off.
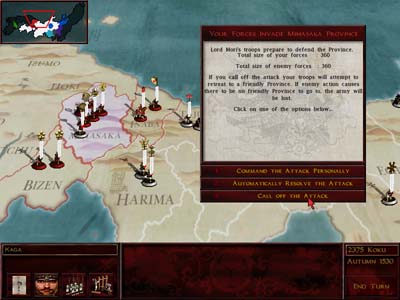
Imagawa Yoshimoto still decided to keep Mikawa - therefore the attack was called off the second time. We still do not want to see extra blood spent althought the victory was almost guaranteed.
Hida: ![]() Rebel (R0, 180) vs.
Rebel (R0, 180) vs. ![]() Uesugi (R0, 60)
Uesugi (R0, 60)
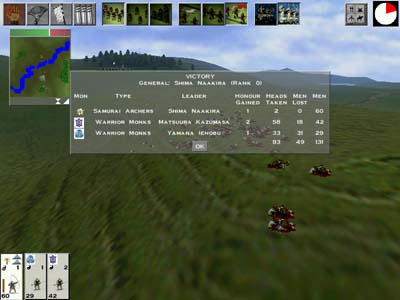
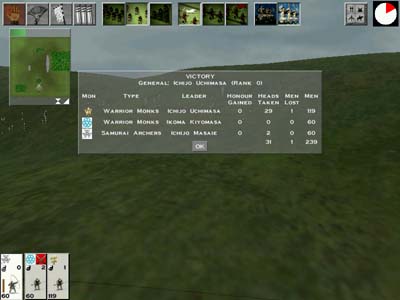
The result of the battle was pre-determined. The enemy decided to fight, but they ended up hiding in the forest. The monks of rebels rushed into the forest using their full speed - and the archers could barely touch them because of the tree branches blocking the arrows.
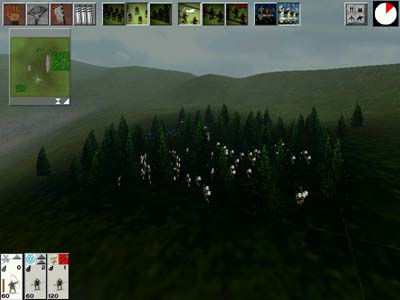
The enemy, killed only 1 of the monks, were totally defeated.
Imagawa: ![]() Rebel (R1, 430) vs.
Rebel (R1, 430) vs. ![]() Imagawa (R4, 331)
Imagawa (R4, 331)
Lord Imagawa had collected his elite samurai of 331 to face the rebel on the plain of Totomi. The Imagawa army was superior in honor, yet the rebels had strong monks of Kaga. The rebels extend their army into a curve, with monk - ashigaru - monk - ashigaru - monk - ashigaru behind the two-rowed archers.
The battle started as the enemy marched their very H4 archers forward to start the archer duel.
The monks immediately rushed forward! The high-honor Imagawa archers had not much time to reacted. They were swallowed, giving little resistance. The ashigaru of rebel soon followed up - and the monk rush now confronts Imagawa Yoshimoto!
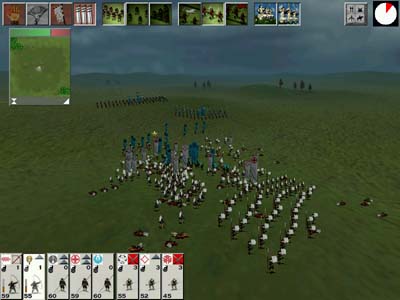
Yoshimoto pulled back - as he knew he might not be able to live till his slow-running yari samurai reached the middle of the battlefield. A great chance - the monks keep rushing forward, and finally pushed the Imagawa army out of the battlefield!

The battle was decided as soon as the Imagawa archers marched forward without the support of yari samurai behind - the monks became almost invincible after the archers were knocked out. Out of the 120 H4 archers of Imagawa, only 4 survived...
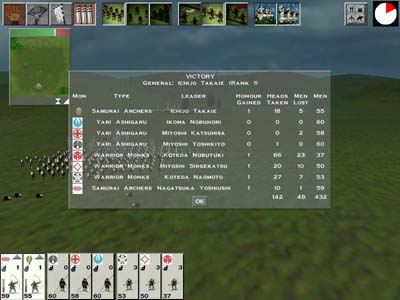
Lord Imagawa Yoshimoto was forced to retreat into the Totomi castle. Will he attemp to break the siege by calling help from Hizen, Mikawa, and Suruga?
The harvest of 1530 was good, yet rebels cannot take too mcuh from the peasants. After the extra tax reductions what they really received was 2375 koku. This should be just enough for 120 yari samurai in Tosa for the Shimazu invasion, and 240 more monks from Kaga.
p.s. However, the tax rate was set to highest all the time. The medieval peasants were happy as long as there were tax reductions...